Makita LS1045 Instruction Manual
Browse online or download Instruction Manual for Mitre saws Makita LS1045. Makita LS1045 Instruction manual User Manual
- Page / 27
- Table of contents
- BOOKMARKS
- SPECIFICATIONS 2
- GENERAL SAFETY PRECAUTIONS 3
- Minimum 4
- ADDITIONAL SAFETY RULES 5
- SAVE THESE INSTRUCTIONS 6
- Carrying grip 7
- Dust spout 9
- Fastener 9
- CAUTION: 9
- (10") 10
- 4" 11
- 15" 12
- 0" 14
- 90" 15
- 6" 16
- (3-9/16"1 17
- MAINTENANCE 19
- 0' 20
- ACCESSORIES 22
- Holder assembly 23
- Vertical vise 23
- Horizontal vise 23
- May-14-'98 24
- (IO") 24
- COMPOUND 24
- Bearing Box 26
- Makita Corporation 27
Summary of Contents
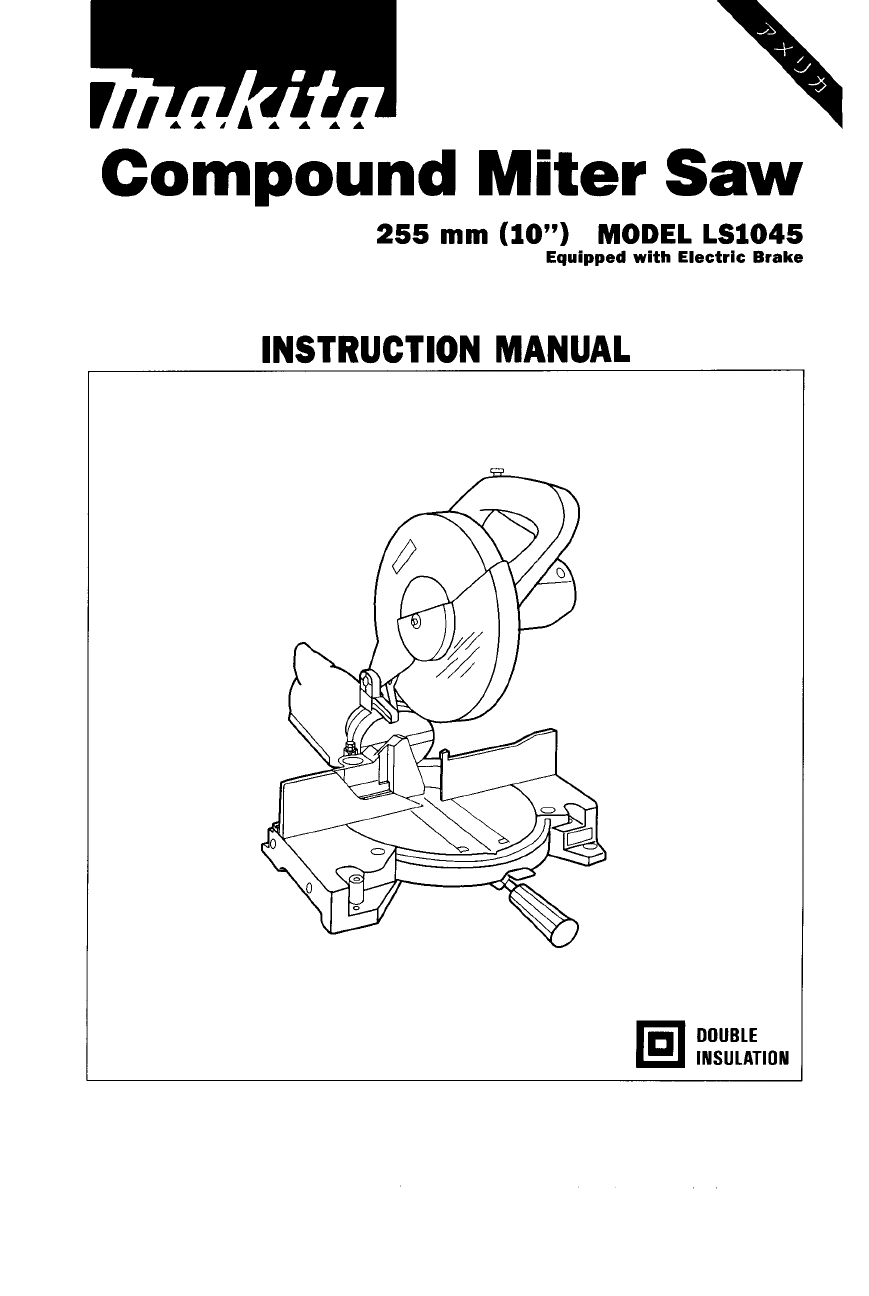
Compound Miter Saw 255 mm (10”) MODEL LS1045 Equipped with Electric Brake INSTRUCTION MANUAL DOUBLE INSULATION
Kerf board I ~~-~~ ~~~~~~~~ This tool is provided with the kerf board in the turn base. If the kerf groove has not yet been cut in the kerf board b
Positioning for adjusting the bevel angle The saw blade tilts up to 45" to the left. To adjust the bevel angle, loosen the lever at the rear of t
2. Horizontal vise (optional accessory) The horizontal vise can be installed on either the left or right side of the base. When performing 15"
Operation CAUTION: *Before use, be sure to release the handle from the lowered position by pulling the stop- per pin. *Make sure the blade is not cont
2. Bevel cut *Left 0" - 45' bevel cuts can be performed. *Loosen the lever and tilt the saw blade to set the bevel angle. Switch on the
Bevel angle 45" I Left and right 0' - 45' Miter angle When performing the compound cutting, refer to "Miter cutting"
Position Bevel angle in Fig (A) 52/38'' type 45' type 0 @ Left 33 90 Left 30" 0 @ For inside corner For outside corner ~ - Mi
5. Cutting aluminum extrusion When securing aluminum extrusions, use spacer blocks or pieces of scrap as shown in the figure to prevent deforma- ti
7. Cutting repetitive lengths When cutting several pieces of stock to the same length, ranging from 240 mm (9-29/64") to 350 mm (13-25/32"
MAINTENANCE CAUTIO N: Always be sure that the tool is switched off and unplugged before attempting to perform inspection or maintenance. WARNING: Alwa
SPECIFICATIONS Blade diameter ... 255 mm (1 0") Hole diam
Lower the handle fully and square the side of the blade with the top surface of the turn base using the tri- angular rule, try-square, etc. b
Replacing carbon brushes Remove and check the carbon brushes reg- ularly. Replace when they wear down to the limit mark. Keep the carbon bru
ACCESSORIES CAUTION: These accessories or attachments are recommended for use with your Makita tool specified in this manual. The use of any other acc
Holder assembly Part No. 122446.1 Vertical vise (with screw) Part No. 192625-5 Horizontal vise Part No. 122564-5 23
May-14-'98 US 255 mm (IO") COMPOUND MITER SAW Model LS1045 24
Note: The switch, noise suppressor and other part configurations may differ from country to country. 25
MODEL LS1045 ut:D DESCRIPTION May-l4-'98 US A:D DESCRIPTION MACHINE ___ 1 2 3 4 5 6 7 8 9 10 11 12 13 14 15 16 17 18 19 20 21 22 23 24 25 26 27 2
MAKITA LlMlTED ONE YEAR WARRANTY Warranty Policy Every Makita tool is thoroughly inspected and tested before leaving the factory. It is warranted to
For Your Own Safety Read Instruction Manual Before Operating Compound Saw Save it for future reference GENERAL SAFETY PRECAUTIONS (For All Tools) 1.
16. EXTENSION CORDS. Make sure your extension cord is in good condition. When using an extension cord, be sure to use one heavy enough to carry the cu
VOLTAGE WARNING: Before connecting the tool to a power source (receptacle, outlet, etc.) be sure the voltage supplied is the same as that specified
21. Shut off power and wait for saw blade to stop before servicing or adjusting tool. 22. Be alert at all times, especially during repetitive, mono
Carrying tool When carrying the tool, lower the handle fully and press the stopper pin to lock the handle in the lowered position. Secure the
Press the shaft lock so that the blade can- not revolve and use the socket wrench to loosen the hex bolt clockwise.Then remove the hex bolt, outer fla
Dust bag The use of the dust bag makes cutting operations clean and dust collections easy. To attach the dust bag, fit the bags entry port
Related products and manuals for Mitre saws Makita LS1045


 (112 pages)
 (28 pages)
 (132 pages)
(120 pages)
(24 pages)
(32 pages)
(136 pages)
(36 pages)
(20 pages)
(36 pages)
(16 pages)
(132 pages)
(120 pages)
(24 pages)
(32 pages)
(136 pages)
(36 pages)
(20 pages)
(36 pages)
(16 pages)

 (112 pages)
 (76 pages)
(88 pages)
(20 pages)
(76 pages)
(88 pages)
(20 pages)
© 2020, manymanuals.com. All rights reserved. | 0.961 s |
 Manymanuals.com
 Manymanuals.de
 Manymanuals.fr
 Manymanuals.it
 Manymanuals.pl
 Manymanuals.cz
 Manymanuals.es
 Manymanuals-pt.com
Comments to this Manuals