Makita LS711D Specifications
Browse online or download Specifications for Mitre saws Makita LS711D. Makita LS711D Specifications User Manual
- Page / 36
- Table of contents
- BOOKMARKS
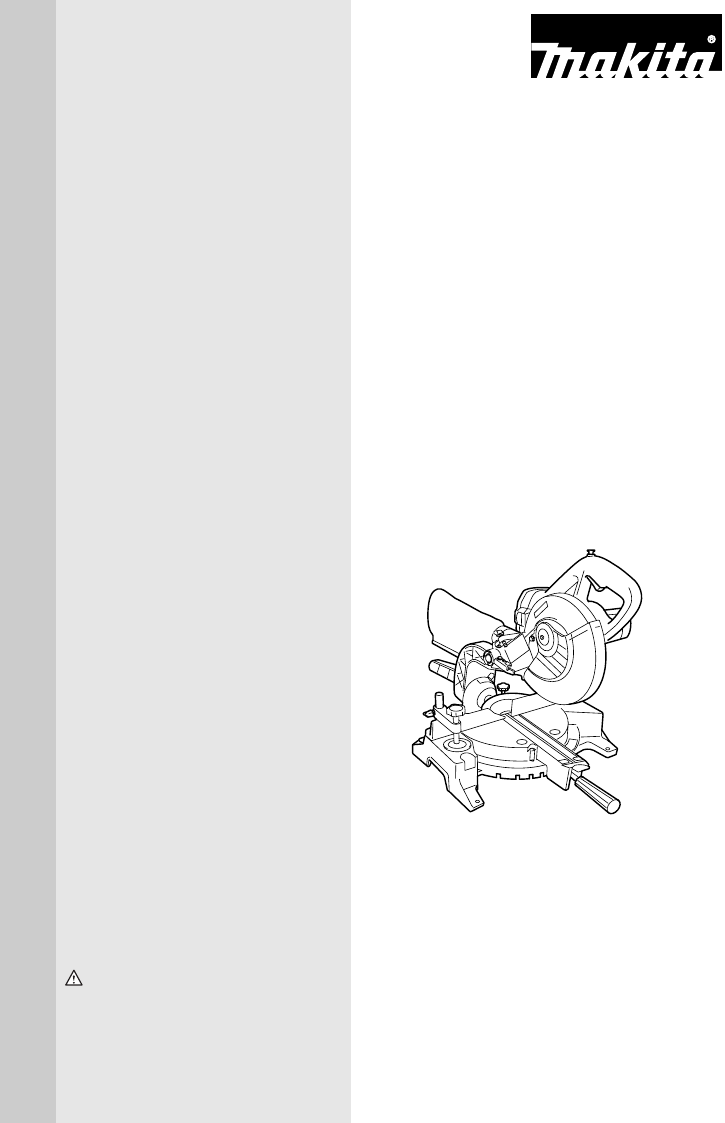
- Cordless Slide 1
- Compound Saw 1
- SPECIFICATIONS 2
- Before Operating Tool 3
- Save it for future reference 3
- GENERAL SAFETY PRECAUTIONS 3
- USB033-2 4
- SAVE THESE INSTRUCTIONS 6
- BATTERY CARTRIDGE 7
- INSTALLATION 8
- FUNCTIONAL 8
- DESCRIPTION 8
- Charging 9
- Blade guard 10
- Positioning kerf board 11
- Stopper arm 12
- Adjusting the miter angle 13
- Adjusting the bevel angle 13
- Switch action 13
- ASSEMBLY 14
- Socket wrench storage 15
- Dust bag 17
- Securing workpiece 17
- Vertical vise 18
- OPERATION 19
- Table (A) 22
- Table (B) 23
- Compound Miter Saw 24
- Carrying tool 26
- MAINTENANCE 27
- Replacing carbon brushes 29
- After use 29
- Recycling the Battery 30
- ACCESSORIES 31
- Makita Canada Inc 33
- 1950 Forbes Street 33
- Whitby, Ontario 33
- Certificate of Warranty 34
- Mail to Makita 34
- Factory Service Centres 35
- Makita Corporation of America 36
Summary of Contents
INSTRUCTION MANUALWARNING:For your personal safety, READ and UNDERSTAND before using.SAVE THESE INSTRUCTIONS FOR FUTURE REFERENCE.Cordless Slide Compo
10Trickle charge (Maintenance charge)If you leave the battery cartridge in the charger to preventspontaneous discharging after full charge, the charge
11If the blade guard is especially dirty and vision through theguard is impaired, use the supplied socket wrench to loosenthe hex bolt holding the cen
12Maintaining maximum cutting capacityThis tool is factory adjusted to provide the maximum cuttingcapacity for a 190 mm (7-1/2”) saw blade.When instal
13Adjusting the miter angleLoosen the grip by turning counterclockwise. Turn the turnbase while pressing down the lock lever. When you havemoved the g
14• Do not pull the switch trigger hard without pressing in thelock-off button. This can cause switch breakage.To prevent the switch trigger from bein
15Socket wrench storageThe socket wrench is stored as shown in the figure. Whenusing the socket wrench, pull it out of the wrench holder.After using t
16Press the shaft lock to lock the spindle and use the socketwrench to loosen the hex bolt clockwise. Then remove thehex bolt, outer flange and blade.
17Dust bagThe use of the dust bag makes cutting operations clean anddust collection easy. To attach the dust bag, fit it onto thedust nozzle.When the
18Vertical viseThe vertical vise can be installed in two positions on eitherthe left or right side of the guide fence or the holder assembly(optional
19Holders and holder assembly (optional accessories)The holders and the holder assembly can be installed oneither side as a convenient means of suppor
2SPECIFICATIONSBlade diameter ... 190 mm (7-1/2”)Hole (arbor)
201. Press cutting (cutting small workpieces)Workpieces up to 50 mm (2”) high and 97 mm (3-13/16”)wide can be cut in the following way.Push the carria
21• Never perform the slide cut with the handle locked in thelowered position by pressing the stopper pin.• Never loosen the clamp screw which secures
22When performing compound cutting, refer to “Press cut-ting”, “Slide cutting”, “Miter cutting” and “Bevel cut”explanations.6. Cutting crown and cov
23Example:In the case of cutting 52/38° type crown molding forposition (1) in Fig. A:• Tilt and secure bevel angle setting to 33.9°LEFT.• Adjust and s
24EN0002-1Compound Miter Saw Miter and Bevel Angle Settings00003152˚38˚CeilingWallWall to Crown Molding Angle: 52/38 degreesWall Angle (deg.)Bevel Ang
25 EN0003-1Compound Miter Saw Miter and Bevel Angle Settings00003245˚45˚CeilingWallWall to Crown Molding Angle: 45 degreesWall Angle (deg.)Bevel Angle
267. Cutting repetitive lengthsWhen cutting several pieces of stock to the same length,ranging from 220 mm (8-5/8”) to 385 mm (15-1/8”), useof the set
27Carry the tool by carrying grip as shown in the figure. If youremove the holders, dust bag, etc., you can carry the toolmore easily.CAUTION:• Always
28Make sure that the pointer points to 0° on the miterscale. If the pointer does not point to 0°, loosen thescrew which secures the pointer and adjust
29(2) 45° bevel angleAdjust the 45° bevel angle only after performing 0°bevel angle adjustment. To adjust left 45° bevelangle, loosen the lever and ti
3For Your Own Safety Read Instruction Manual Before Operating Tool Save it for future reference GENERAL SAFETY PRECAUTIONSUSA005-1(For All TOOIS)1. KN
30EN0001-1Recycling the BatteryThe only way to dispose of a Makita battery is to recycle it.The law prohibits any other method of disposal.To recycle
31ACCESSORIES• These accessories or attachments are recommended foruse with your Makita tool specified in this manual. Theuse of any other accessories
Memo32
33FoldCutStampTimbreMakita Canada Inc.1950 Forbes Street,Whitby, OntarioL1N 7B7
34Your answers to the following questions are appreciated.Date Purchased Model No.Serial No.Initial Last NameStreet AddressCity ProvinceAGE:Male Femal
35Factory Service CentresFor the authorized service centre nearest you please refer to the local yellow pages directory under “tools” or con-tact our
Warranty PolicyEvery Makita tool is thoroughly inspected and tested before leaving the factory. It is warranted to be free of defects fromworkmanship
418. NEVER STAND ON TOOL. Serious injurycould occur if the tool is tipped or if thecutting tool is unintentionally contacted.19. CHECK DAMAGED PARTS.
5ing it from tool, then cleaning it with gumand pitch remover, hot water or kerosene.Never use gasoline to clean blade.14. While making a slide cut, K
6SAVE THESE INSTRUCTIONSWARNING:MISUSE or failure to follow the safety rules stated in thisinstruction manual may cause serious personal injury.IMPORT
712. To reduce risk of electric shock, unplugcharger from outlet before attempting anymaintenance or cleaning. Turning off con-trols will not reduce t
8INSTALLATIONBench mountingWhen the tool is shipped, the handle is locked in the loweredposition by the stopper pin. Release the stopper pin by lower-
9Charging1. Plug the battery charger into the proper AC voltagesource. The charging light will flash in green color.2. Insert the battery cartridge so
Related products and manuals for Mitre saws Makita LS711D
 (16 pages)

 (112 pages)

 (76 pages)
(88 pages)
(20 pages)
(76 pages)
(88 pages)
(20 pages)

 (108 pages)
(16 pages)
(28 pages)
(108 pages)
(16 pages)
(28 pages)

 (68 pages)
(72 pages)
(68 pages)
(72 pages)
© 2020, manymanuals.com. All rights reserved. | 0.922 s |
 Manymanuals.com
 Manymanuals.de
 Manymanuals.fr
 Manymanuals.it
 Manymanuals.pl
 Manymanuals.cz
 Manymanuals.es
 Manymanuals-pt.com
Comments to this Manuals