Makita JN1601 Instruction Manual
Browse online or download Instruction Manual for Power tools Makita JN1601. Makita JN1601 Instruction manual User Manual
- Page / 12
- Table of contents
- BOOKMARKS
- INSTRUCTION MANUAL 1
- GENERAL SAFETY 2
- SAVE THESE INSTRUCTIONS 2
- SAVE THESE INSTRUCTIONS 4
- CAUTION: 5
- 0" 6
- (90") 7
- MAINTENANCE 9
- ACCESSORIES 10
- NIBBLER 11
- Corporation 12
Summary of Contents
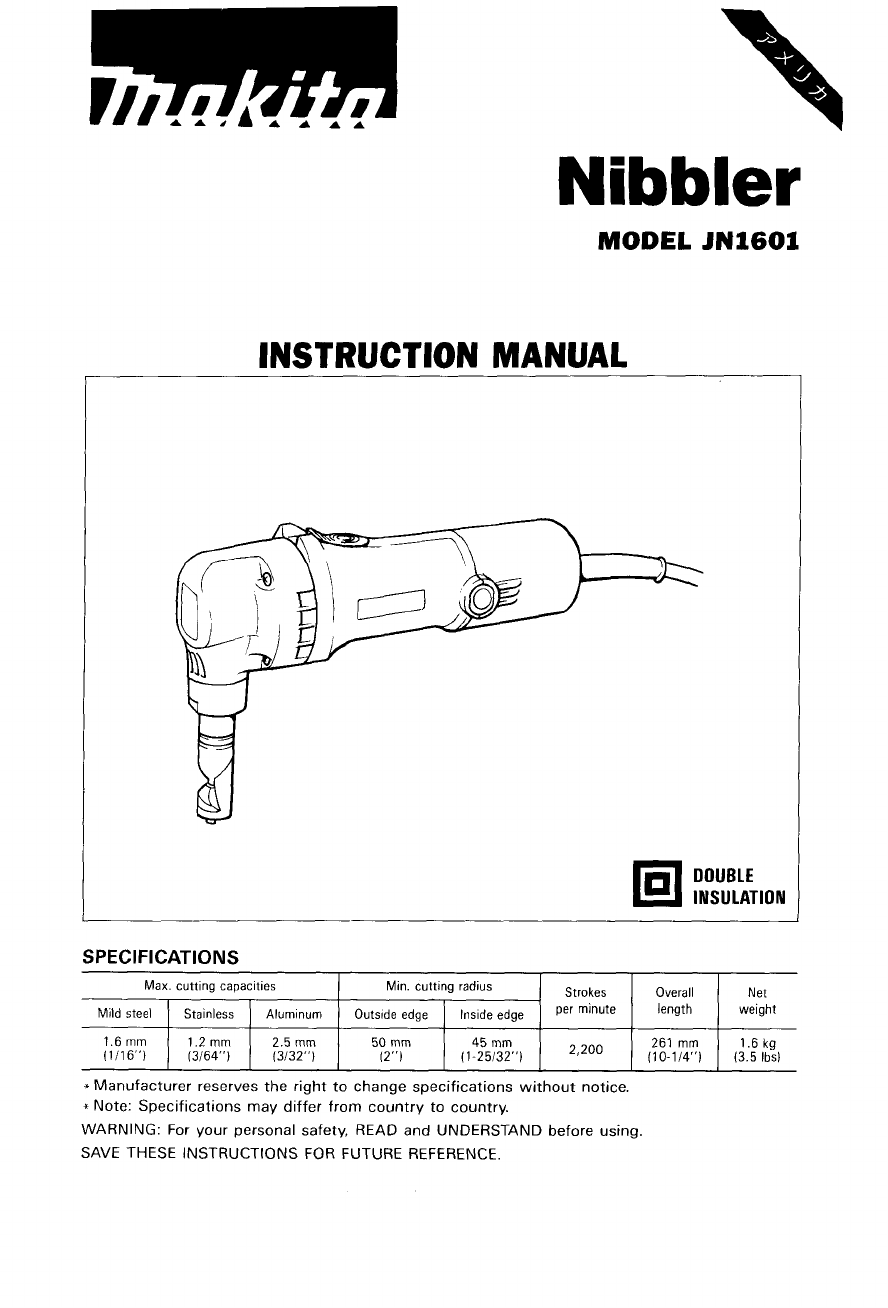
MODEL JN1601 Max. cutting capacities Mild steel Stainless Aluminum 1.6 mm 1.2 mm 2.5 mm (lil6") 13/64") (3132") INSTRUCTION MANUAL S
ACCESSORIES CAUTION: These accessories or attachments are recommended for use with your Makita tool specified in this manual. The use of any othe
Nav.--29-'94 EN NIBBLER Model JN1601 d Note: The switch, noise suppressor and other part configurations may differ from country to country.
Nov-12-’96 US MODEL JN1601 (t2D DESCRIPTION ‘i:M $:D DESCRIPTION 25 26 21 28 29 30 31 32 33 34 35 36 37 38 39 40 41 42 44 45 46 47 48 49 50 1 1 1 1 1
GENERAL SAFETY RULES (For All Tools) WARNING! Read and understand all instructions. Failure to follow all instructions listed below, may result in ele
11. Avoid accidental starting. Be sure switch is off before plugging in. Carrying tools with your finger on the switch or plugging in tools that have
Specific Safety Rules 1. Always be sure that the tool is switched off and unplugged before carrying 2. Always lead the power supply cord away from th
ASSEMBLY Removing or installing the punch and die CAUTION: Always be sure that the tool is switched off and unplugged before removing or installing t
. OPERATION Changing the die position CAUTION: Always be sure that the tool is switched off and unplugged before changing the die posi- tion. To swit
Thickness gauge I -- The grooves in the die holder serve as the thickness gauge for allowable cutting thick- ness. Cutting line The notch in the die
Cutting the corrugated or trapezoidal sheet metals Set the die position so that the die faces the cutting direction either when cutting at an angle o
MAINTENANCE CAUTION: Always be sure that the tool is switched off and unplugged before attempting to perform inspection or maintenance. Replacing carb
More documents for Power tools Makita JN1601


Related products and manuals for Power tools Makita JN1601
 (12 pages)
(16 pages)
(12 pages)
(12 pages)
(16 pages)
(12 pages)


 (72 pages)
(16 pages)
(72 pages)
(16 pages)

 (32 pages)
(23 pages)
(12 pages)
(48 pages)
(28 pages)
(48 pages)
(28 pages)
(24 pages)
(16 pages)
(48 pages)
(32 pages)
(23 pages)
(12 pages)
(48 pages)
(28 pages)
(48 pages)
(28 pages)
(24 pages)
(16 pages)
(48 pages)
 (60 pages)
(12 pages)
(60 pages)
(12 pages)
© 2020, manymanuals.com. All rights reserved. | 1.549 s |
 Manymanuals.com
 Manymanuals.de
 Manymanuals.fr
 Manymanuals.it
 Manymanuals.pl
 Manymanuals.cz
 Manymanuals.es
 Manymanuals-pt.com
Comments to this Manuals