Makita DJV181 Instruction Manual
Browse online or download Instruction Manual for Cordless jigsaws Makita DJV181. Makita DJV181 Instruction manual User Manual
- Page / 36
- Table of contents
- BOOKMARKS
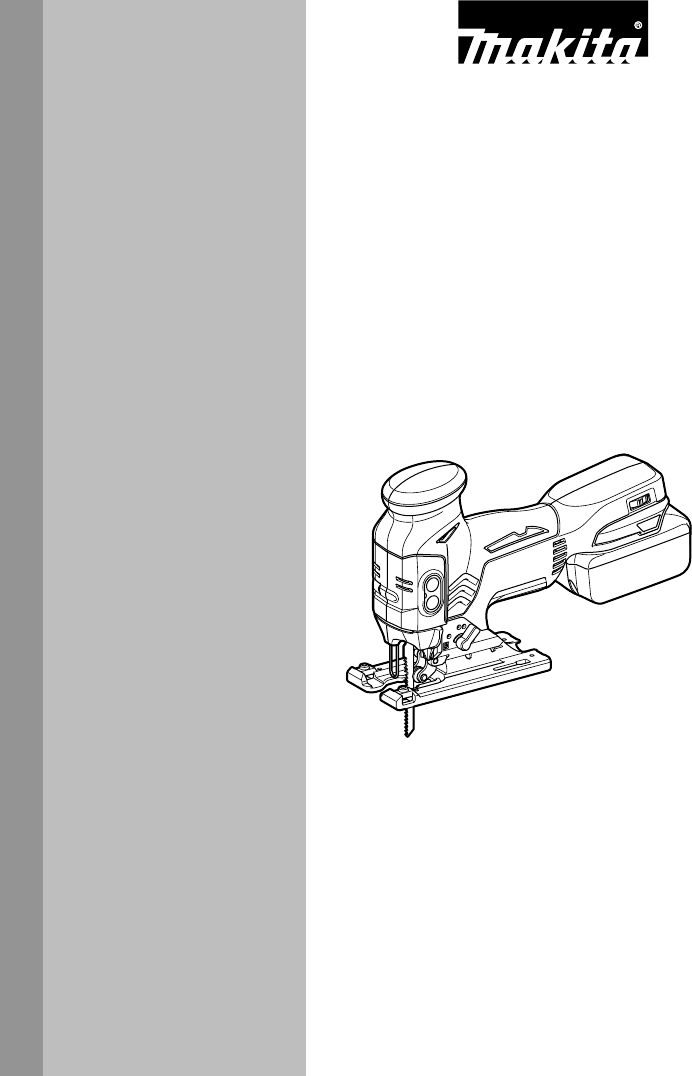
- Cordless Jig Saw 1
- Scie sauteuse sans fil 1
- Sierra Caladora Inalámbrica 1
- SPECIFICATIONS 2
- General Power Tool Safety 2
- Warnings 2
- Save all warnings and 2
- CORDLESS JIG SAW SAFETY 3
- WARNINGS 3
- WARNING: 4
- FUNCTIONAL DESCRIPTION 5
- Switch action 6
- Lighting up the lamps 6
- Speed adjusting dial 6
- ASSEMBLY 7
- OPERATION 8
- Front flush cuts 9
- Cutouts 9
- Finishing edges 9
- Metal cutting 10
- OPTIONAL ACCESSORIES 11
- GEA006-2 12
- AVERTISSEMENT: 14
- DESCRIPTION DU 15
- FONCTIONNEMENT 15
- CONSERVEZ CE MODE 15
- D'EMPLOI 15
- Interrupteur 16
- ASSEMBLAGE 17
- Plaque de recouvrement 18
- Dispositif anti-fente 18
- Collecte de la poussière 18
- UTILISATION 19
- Découpage 20
- Finition des bords 20
- Coupe du métal 20
- (accessoire en option) 20
- ENTRETIEN 21
- ACCESSOIRES EN OPTION 21
- EN0006-1 22
- ADVERTENCIA: 25
- GUARDE ESTAS 26
- INSTRUCCIONES 26
- DESCRIPCIÓN DEL 26
- FUNCIONAMIENTO 26
- Selección de corte 27
- ENSAMBLE 28
- (hexagonal) 29
- Dispositivo antiastillado 29
- Extracción de polvo 29
- OPERACIÓN 30
- MANTENIMIENTO 32
- ACCESORIOS OPCIONALES 32
- ADVERTENCIA 36
Summary of Contents
1 INSTRUCTION MANUAL MANUEL D'INSTRUCTION MANUAL DE INSTRUCCIONES IMPORTANT: Read Before Using. IMPORTANT: Lire avant usage. IMPORTANTE: Leer
10 Metal cutting Always use a suitable coolant (cutting oil) when cutting metal. Failure to do so will cause significant blade wear. The underside of
11 OPTIONAL ACCESSORIES CAUTION: • These accessories or attachments are recommended for use with your Makita tool specified in this manual. The use
12 FRANÇAIS (Mode d’emploi original) SPÉCIFICATIONS Modèle DJV181 Longueur de frappe 26 mm (1") Bois 135 mm (5-5/16") Acier doux 10 mm (3/
13 Sécurité personnelle 10. Restez alerte, attentif à vos mouvements et faites preuve de bon sens lorsque vous utilisez un outil électrique. Évitez d
14 27. Dans des conditions d'utilisation inadéquates de la batterie, il peut y avoir fuite d'électrolyte; évitez tout contact avec ce liqui
15 3. Cessez immédiatement l'utilisation si le temps de fonctionnement devient excessivement court. Il y a risque de surchauffe, de brûlures, vo
16 Système de protection de la batterie (batterie lithium-ion marquée d’une étoile) 1 012128 Les batteries lithium-ion marquées d’une étoile sont é
17 NOTE: • Lorsque l’outil est en mode veille, la lampe reste allumée. • Si l’outil reste 10 secondes inactif en mode veille, il se met automatiquem
18 Pour installer la lame, insérez celle-ci (dents tournées vers l’avant) dans le porte-lame, jusqu’à ce qu’elle s’enclenche. Le porte-lame retourne s
19 12 013931 Raccordez ensuite un aspirateur Makita au raccord d'aspiration. UTILISATION ATTENTION: • Maintenez toujours la base parfaitement
2 ENGLISH (Original instructions) SPECIFICATIONS Model DJV181 Length of stroke 26 mm (1") Wood 135 mm (5-5/16") Mild steel 10 mm (3/8"
20 Découpage Le découpage peut s'effectuer par la méthode A ou B. A) Perçage d'un trou de départ : 1 013887 • Pour le découpage interne san
21 2. Coupes circulaires 013940 123 013941 Pour effectuer des coupes en forme de cercle ou d'arc avec un rayon de 170 mm (6-11/16") ou mo
22 GARANTIE LIMITÉE D’UN AN MAKITAPolitique de garantieChaque outil Makita est inspecté rigoureusement et testé avant sa sortie d’usine. Nous garantis
23 ESPAÑOL (Instrucciones originales) ESPECIFICACIONES Modelo DJV181 Extensión de la carrera 26 mm (1") Madera 135 mm (5-5/16") Acero templ
24 9. Si no es posible evitar usar una herramienta eléctrica en condiciones húmedas, utilice un alimentador protegido con interruptor de circuito de
25 27. En condiciones de mal uso, podrá escapar líquido de la batería; evite tocarlo. Si lo toca accidentalmente, enjuague con agua. Si hay contacto
26 3. Si el tiempo de operación se ha acortado en exceso, deje de operar de inmediato. Podría correrse el riesgo de sobrecalentamiento, posibles quem
27 Sistema de protección de batería (batería de ión de litio con marca de estrella) 1 012128 Las baterías de ión de litio con una marca de estrella
28 NOTA: • Cuando la herramienta esté en modo de espera, la lámpara continúa encendida. • Si la herramienta se deja 10 segundos sin actividad en mod
29 Antes de instalar la sierra, asegúrese de que el portasierra se encuentre en la posición liberada. Para instalar la sierra, insértela (con los d
3 13. Remove any adjusting key or wrench before turning the power tool on. A wrench or a key left attached to a rotating part of the power tool may r
30 Para fijar la boquilla de polvo, apriete el tornillo de la prensa en la parte frontal de la boquilla de polvo. Se puede instalar la boquilla de pol
31 Cortes a ras frontales 123 013886 Afloje el tornillo de la parte trasera de la base con la llave hexagonal y deslice la base hacia atrás a tope. D
32 123 013939 Para la instalación, inserte la guía de corte al hilo en el orificio rectangular en el costado de la base de la herramienta con la guía
33 GARANTÍA LIMITADA MAKITA DE UN AÑOÉsta Garantía no aplica para MéxicoPolítica de garantíaCada herramienta Makita es inspeccionada y probada exhaust
36 Some dust created by power sanding, sawing, grinding, drilling, and otherconstruction activities contains chemicals known to the State of Californi
4 7. Hold the tool firmly. 8. Make sure the blade is not contacting the workpiece before the switch is turned on. 9. Keep hands away from moving pa
5 FUNCTIONAL DESCRIPTION CAUTION: • Always be sure that the tool is switched off and the battery cartridge is removed before adjusting or checking f
6 Position Cutting action ApplicationsFor cutting mild steel, stainless steel and plastics.For clean cuts in wood and plywood.Small orbit cutting acti
7 Then the tool keeps the speed until the tool is switched off. When temperature is low and there is less fluidity in grease, the tool may not have th
8 Anti-splintering device 21 013877 For splinter-free cuts, the anti-splintering device can be used. To install the anti-splintering device, move the
9 123 013884 To tilt the base, loosen the bolt on the back of the base with the hex wrench. Move the base so that the bolt is positioned in the cente
Related products and manuals for Cordless jigsaws Makita DJV181

 (32 pages)
 (17 pages)
 (16 pages)
(16 pages)
(16 pages)
© 2020, manymanuals.com. All rights reserved. | 1.346 s |
 Manymanuals.com
 Manymanuals.de
 Manymanuals.fr
 Manymanuals.it
 Manymanuals.pl
 Manymanuals.cz
 Manymanuals.es
 Manymanuals-pt.com
Comments to this Manuals