Makita XGC01ZC Use and Care Manual
Browse online or download Use and Care Manual for Power tools Makita XGC01ZC. Makita XGC01ZC Use and Care Manual User Manual
- Page / 32
- Table of contents
- BOOKMARKS
- Cordless Caulking Gun 1
- Pistolet à Mastic Sans Fil 1
- SPECIFICATIONS 2
- General Power Tool Safety 2
- Warnings 2
- Save all warnings and 2
- CORDLESS CAULKING GUN 3
- SAFETY WARNINGS 3
- SAVE THESE INSTRUCTIONS 3
- WARNING: 4
- FUNCTIONAL DESCRIPTION 5
- ASSEMBLY 6
- Installing rod and piston 7
- Installing holder 8
- Installing cartridge 8
- Installing film type pack 8
- OPERATION 9
- MAINTENANCE 9
- OPTIONAL ACCESSORIES 10
- GEA006-2 11
- AVERTISSEMENT: 13
- Cadran de rélage de vitesse 15
- Interrupteur 15
- Allumage de la lampe 15
- ASSEMBLAGE 16
- Installation du support 17
- Installation de la cartouche 17
- Masticage direct 18
- UTILISATION 19
- ENTRETIEN 19
- ACCESSOIRES EN OPTION 19
- EN0006-1 20
- ADVERTENCIA: 23
- ENSAMBLE 26
- Instalación del sujetador 27
- Instalación del cartucho 28
- OPERACIÓN 29
- MANTENIMIENTO 30
- ACCESORIOS OPCIONALES 30
- ADVERTENCIA 32
Summary of Contents
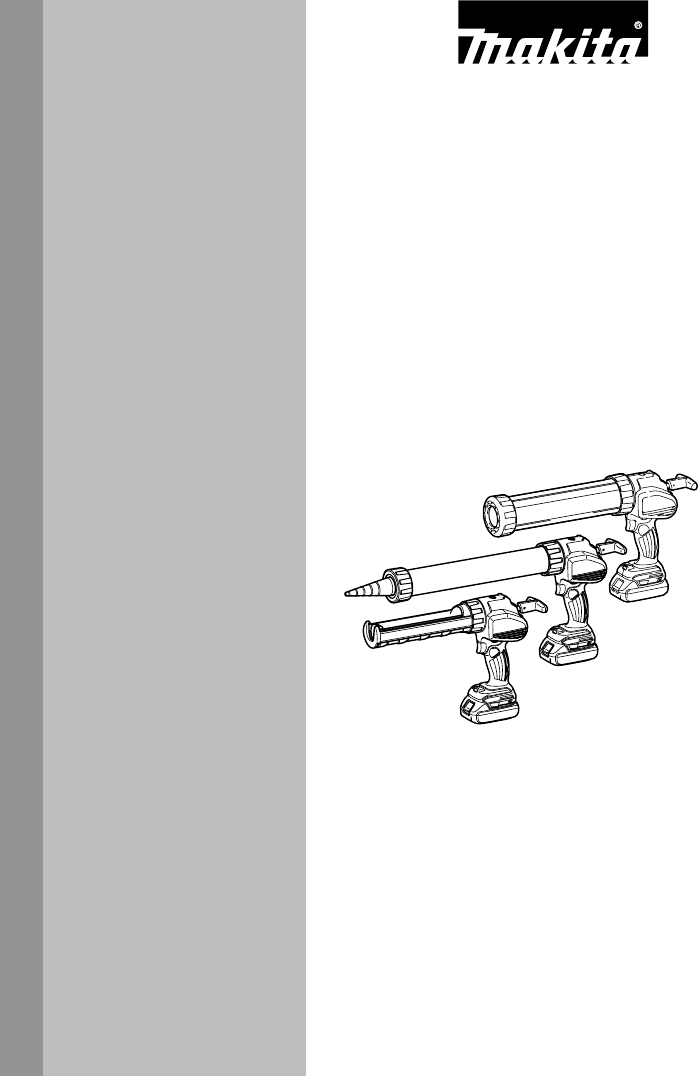
1 INSTRUCTION MANUAL MANUEL D'INSTRUCTION MANUAL DE INSTRUCCIONES IMPORTANT: Read Before Using. IMPORTANT: Lire avant usage. IMPORTANTE: Leer
10 • Clean the holder and the rod after every day's work. Keep them free from the adhesive material. Remove the caulking material before it hard
11 FRANÇAIS (Mode d’emploi original) SPÉCIFICATIONS Modèle XGC01 Force d’avance max 5 000 N (1 100 lbs) Vitesse d’avance 0 - 28 mm/s (0 - 66 po/min)
12 8. Lorsque vous utilisez un outil électrique à l'extérieur, utilisez un cordon prolongateur prévu à cette fin. Les risques de choc électrique
13 25. N'utilisez un outil électrique qu'avec le bloc-piles conçu spécifiquement pour cet outil. Il y a risque de blessure ou d'incend
14 CONSERVEZ CE MODE D'EMPLOI. Conseils pour obtenir la durée de service maximale de la batterie 1. Rechargez la batterie avant qu'elle ne
15 • En surcharge : L'outil est utilisé d'une manière entraînant une consommation anormale de courant. Dans cette situation, relâchez la gâ
16 1 013570 Tirez sur la gâchette pour allumer la lampe. La lampe reste allumée tant que la gâchette n’est pas libérée. La lampe s’éteint environ 10
17 ABC 013611 Pour le gros support (800 ml (48,8 po3)) D 015612 D 015607 Insérez la tige dans la fente de l'outil. Placez le piston et serrez-
18 013567 Insérez la cartouche dans le support comme sur l'illustration. Enfoncez lentement la tige jusqu'à ce que le piston touche le fon
19 Enfoncez l'ouverture du support dans le mastic. Tirez lentement la poignée de la tige jusqu'à ce que le support contienne la quantité de
2 ENGLISH (Original instructions) SPECIFICATIONS Model XGC01 Max feed force 5,000 N (1,100 lbs) Feed speed 0 - 28 mm/s (0 - 66 inch/min) with short
20 NOTE: • Certains éléments de la liste peuvent être inclus avec l'outil comme accessoires standard. Ils peuvent varier suivant les pays. GARAN
21 ESPAÑOL (Instrucciones originales) ESPECIFICACIONES Modelo XGC01 Fuerza máxima de alimentación 5 000 N (1 100 lbs) Velocidad de alimentación 0 mm
22 herramientas eléctricas que tengan conexión a tierra (puesta a tierra). La utilización de clavijas no modificadas y que encajen perfectamente en la
23 eléctrica. Si la herramienta eléctrica está dañada, haga que se la reparen antes de utilizarla. Muchos accidentes son ocasionados por herramientas
24 correrse el riesgo de sobrecalentamiento, posibles quemaduras e incluso explosión. 4. En caso de que ingresen electrolitos en sus ojos, enjuáguelo
25 Sistema de protección de la batería La herramienta está equipada con un sistema de protección de la batería. Este sistema corta en forma automática
26 AB12 013559 Para evitar que el gatillo interruptor sea jalado accidentalmente, se cuenta con un botón de bloqueo del gatillo. Para iniciar la herr
27 Instalación de la barra y pistón Para el sujetador corto (300 ml (18,3 plg.cu.)) A 015608 Para el sujetador largo (600 ml (36,6 plg.cu.)) ABC 013
28 NOTA: • Puede girar el sujetador de acuerdo a como lo requiera la aplicación para facilitar la operación. • El sujetador corto (300 ml (18,3 plg.
29 013555 Corte la punta del tubo depresible. Inserte el tubo depresible en el sujetador. 13 013569 Coloque el aro de hule, la boquilla y la tapa d
3 hearing protection used for appropriate conditions will reduce personal injuries. 12. Prevent unintentional starting. Ensure the switch is in the o
30 MANTENIMIENTO PRECAUCIÓN: • Asegúrese siempre de que la herramienta esté apagada y el cartucho de batería extraído antes de intentar realizar una
31
32 Some dust created by power sanding, sawing, grinding, drilling, and otherconstruction activities contains chemicals known to the State of Californi
4 WARNING: DO NOT let comfort or familiarity with product (gained from repeated use) replace strict adherence to safety rules for the subject product.
5 FUNCTIONAL DESCRIPTION CAUTION: • Always be sure that the tool is switched off and the battery cartridge is removed before adjusting or checking f
6 Overload warning lamp 1 013557 The warning lamp flickers in red when the tool is overloaded. If the load reaches some point, the lamp keeps lightin
7 015611 Attach the holder joint firmly along the tool, and fix them with screws tightly. To remove the holder joint, follow above procedure in re
8 Installing holder 013562 Hold the bottom of the holder and the holder joint, then turn the holder clockwise. Tighten it firmly until it stops. Mak
9 013555 Cut off the tip of the film type pack. Insert the film type pack into the holder. 13 013569 Attach the rubber ring, the nozzle and the hol
Related products and manuals for Power tools Makita XGC01ZC


 (24 pages)
(28 pages)
(24 pages)
(28 pages)
© 2020, manymanuals.com. All rights reserved. | 1.071 s |
 Manymanuals.com
 Manymanuals.de
 Manymanuals.fr
 Manymanuals.it
 Manymanuals.pl
 Manymanuals.cz
 Manymanuals.es
 Manymanuals-pt.com
Comments to this Manuals