Makita 6339D User Manual
Browse online or download User Manual for Tools Makita 6339D. Makita 6339D User Manual
- Page / 32
- Table of contents
- BOOKMARKS
Rated. / 5. Based on customer reviews
INSTRUCTION MANUAL
MANUEL D'INSTRUCTION
MANUAL DE INSTRUCCIONES
WARNING:
For your personal safety, READ and UNDERSTAND before using.
SAVE THESE INSTRUCTIONS FOR FUTURE REFERENCE.
AVERTISSEMENT:
Pour votre propre sécurité, prière de lire attentivement avant l’utilisation.
GARDER CES INSTRUCTIONS POUR RÉFÉRENCE ULTÉRIEURE.
ADVERTENCIA:
Para su seguridad personal, LEA DETENIDAMENTE este manual antes de usar la herramienta.
GUARDE ESTAS INSTRUCCIONES PARA FUTURA REFERENCIA.
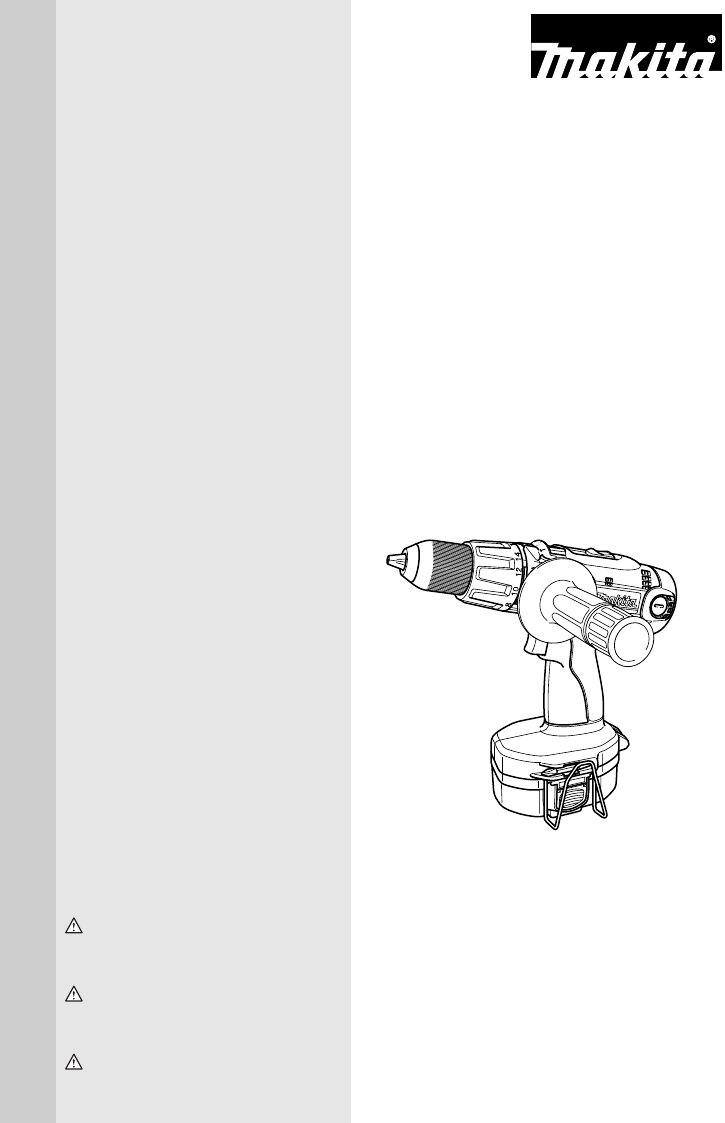
Cordless Driver Drill
Perceuse-visseuse sans fil
Taladro - Atornillador a batería
6319D
6339D
6349D
006263
- Cordless Driver Drill 1
- Perceuse-visseuse sans fil 1
- SPECIFICATIONS 2
- GENERAL SAFETY RULES 2
- SAVE THESE INSTRUCTIONS 2
- SPECIFIC SAFETY RULES 3
- Switch action 5
- Electric brake 5
- Reversing switch action 5
- Speed change 5
- Selecting action mode 5
- ASSEMBLY 6
- Installing and removing hook 7
- OPERATION 8
- MAINTENANCE 9
- ACCESSORIES 9
- EN0006-1 10
- SPÉCIFICATIONS 11
- CONSIGNES DE SÉCURITÉ 11
- GÉNÉRALE 11
- CONSERVEZ CES INSTRUC 11
- DESCRIPTION DU 14
- FONCTIONNEMENT 14
- Inverseur 15
- Changement de vitesse 15
- Réglage du couple de serrage 15
- ASSEMBLAGE 16
- UTILISATION 18
- ENTRETIEN 19
- ACCESSOIRES 19
- ESPECIFICACIONES 21
- REGLAS DE SEGURIDAD GEN 21
- GUARDE ESTAS INSTRUC 21
- DESCRIPCIÓN DEL 24
- FUNCIONAMIENTO 24
- Freno eléctrico 25
- Cambio de velocidad 25
- OPERACIÓN 28
- MANTENIMIENTO 29
- ACCESORIOS 29
- ADVERTENCIA 32
Summary of Contents
Page 1 - Perceuse-visseuse sans fil
INSTRUCTION MANUALMANUEL D'INSTRUCTIONMANUAL DE INSTRUCCIONESWARNING:For your personal safety, READ and UNDERSTAND before using.SAVE THESE INSTRU
Page 2 - SAVE THESE INSTRUCTIONS
10EN0006-1MAKITA LIMITED ONE YEAR WARRANTYWarranty PolicyEvery Makita tool is thoroughly inspected and testedbefore leaving the factory. It is warran
Page 3 - SPECIFIC SAFETY RULES
11FRENCHSPÉCIFICATIONS• Le fabricant se réserve le droit de modifier sans avertissement les spécifications.• Note: Les spécifications peuvent varier s
Page 4
128. Lorsque vous utilisez un outil électrique à l’exté-rieur, utilisez un cordon prolongateur conçu àcette fin. Le risque de choc électrique diminuel
Page 5 - Selecting action mode
13en court-circuit des bornes de batterie peut causerdes brûlures ou un incendie.27. Dans des conditions d’utilisation inadéquates dela batterie, il p
Page 6 - ASSEMBLY
14exemple des clous, des pièces de monnaie,etc.(3) N’exposez pas la batterie à l’eau ou à lapluie.Un court-circuit de la batterie pourrait pro-voquer
Page 7 - Installing and removing hook
15InverseurL’outil possède un inverseur qui permet de changer lesens de rotation. Enfoncez le levier inverseur du côté Apour une rotation dans le sens
Page 8 - OPERATION
16Le couple de serrage peut être ajusté sur l’une ou l’autrede 16 positions, en tournant l’anneau de réglage de sorteque ses graduations s’alignent su
Page 9 - ACCESSORIES
17CrochetLe crochet est pratique pour accrocher temporairementl’outil. Son retrait ne nécessite aucun outil, et il peut êtreinstallé d’un côté comme d
Page 10 - EN0006-1
18En maintenant le crochet dans cette position, tournez-levers le haut jusqu’à un angle de 90° et enfoncez complè-tement les deux extrémités dans le s
Page 11 - CONSERVEZ CES INSTRUC
19ENTRETIENATTENTION:• Assurez-vous toujours que l’outil est hors tension etque la batterie est retirée avant d’y effectuer touttravail d’inspection o
Page 12
2ENGLISHSPECIFICATIONS• Due to our continuing programme of research and development, the specifications herein are subject to changewithout notice.• N
Page 13
20EN0006-1GARANTIE LIMITÉE D’UN AN MAKITAPolitique de garantieChaque outil Makita est inspecté rigoureusement et testéavant sa sortie d’usine. Nous ga
Page 14 - FONCTIONNEMENT
21SPANISHESPECIFICACIONES• Debido a un programa continuo de investigación y desarrollo, las especificaciones aquí dadas están sujetas acambios sin pre
Page 15 - Réglage du couple de serrage
22imiento. Los cables dañados o enredados aumen-tarán el riesgo de que se produzca una descargaeléctrica.8. Cuando utilice una herramienta eléctrica e
Page 16 - ASSEMBLAGE
2326. Cuando la batería no esté siendo utilizada,guárdela alejada de otros objetos metálicoscomo sujetapapeles, monedas, llaves, clavos,tornillos y ot
Page 17
246. No cortocircuite el cartucho de batería:(1) No toque los terminales con ningún materialconductor.(2) Evite guardar el cartucho de batería en unca
Page 18 - UTILISATION
25Freno eléctricoEsta herramienta está equipada con un freno eléctrico.Si la herramienta dejase de pararse enseguida repetida-mente después de soltar
Page 19 - ACCESSOIRES
26Ajuste de la torsión de aprieteLa torsión de apriete puede ajustarse en 16 pasosgirando el anillo de ajuste para que sus graduacionesqueden alineada
Page 20
27Instalación y desmontaje del ganchoA) DesmontajeQuite el cartucho de batería de la herramienta.Ponga la herramienta en una superficie estable y nive
Page 21 - GUARDE ESTAS INSTRUC
28Manteniendo el gancho en esta posición, gírelo haciaarriba 90° y presione ambos extremos completamenteen la dirección de la flecha como se muestra e
Page 22
29MANTENIMIENTOPRECAUCIÓN:• Asegúrese siempre de que la herramienta estéapagada y el cartucho de batería extraído antes deintentar realizar una inspec
Page 23
311. Avoid accidental starting. Ensure the switch is inthe off-position before plugging in. Carryingpower tools with your finger on the switch or plug
Page 24 - FUNCIONAMIENTO
30EN0006-1GARANTÍA LIMITADA MAKITA DE UN AÑOPolítica de garantíaCada herramienta Makita es inspeccionada y probadaexhaustivamente antes de salir de fá
Page 26
WARNINGSome dust created by power sanding, sawing, grinding, drilling, and otherconstruction activities contains chemicals known to the State of Calif
Page 27
47. Do not touch the drill bit or the workpiece imme-diately after operation; they may be extremelyhot and could burn your skin.8. Some material conta
Page 28 - OPERACIÓN
5and slip it into place. Always insert it all the wayuntil it locks in place with a little click. If not, it mayaccidentally fall out of the tool, cau
Page 29 - ACCESORIOS
6NOTE:• When changing the position from “ “ to “ “, itmay be a little difficult to slide the mode changelever. At this time, switch on and run the t
Page 30
7The adjustable depth rod is used to drill holes of uniformdepth. Loosen the clamp screw, set to desired position,then tighten the clamp screw.HookThe
Page 31
8Keeping the hook in this position, rotate it upwards to theangle 90°and push both ends fully in the direction ofarrow as shown in the figure.OPERATIO
Page 32 - ADVERTENCIA
9MAINTENANCECAUTION:• Always be sure that the tool is switched off and thebattery cartridge is removed before attempting toperform inspection or maint
Related products and manuals for Tools Makita 6339D
Tools Makita BTW120 User Manual
 (20 pages)
(20 pages)
Tools Makita BTP130 User Manual

 (36 pages)
(36 pages)
Tools Makita 682 User Manual
(2 pages)
(2 pages)
Tools Makita BTL063 User Manual
(28 pages)
(28 pages)
Tools Makita 6952 User Manual
(16 pages)
(16 pages)
Tools Makita DP4003 User Manual
(16 pages)
(16 pages)
Tools Makita 8434D User Manual
(32 pages)
(32 pages)
Tools Makita Screwdriver 6827 User Manual

 (32 pages)
(32 pages)
Tools Makita 6705D User Manual
(20 pages)
(20 pages)
Tools Makita DPC6411 User Manual
(68 pages)
(68 pages)
Tools Makita HR4001C User Manual
(2 pages)
(2 pages)
Tools Makita 9556NB User Manual
(32 pages)
(32 pages)
Tools Makita 98202 User Manual
(1 pages)
(1 pages)
Tools Makita 9500D User Manual
(20 pages)
(20 pages)
Tools Makita HR2811FT User Manual
(2 pages)
(2 pages)
Tools Makita KP0810 User Manual
(2 pages)
(2 pages)
Tools Makita 6823N User Manual
(2 pages)
(2 pages)
Tools Makita 6914D User Manual
(20 pages)
(20 pages)
Tools Makita 6825 User Manual
(3 pages)
(3 pages)
© 2020, manymanuals.com. All rights reserved. | 0.143 s |
 Manymanuals.com
 Manymanuals.de
 Manymanuals.fr
 Manymanuals.it
 Manymanuals.pl
 Manymanuals.cz
 Manymanuals.es
 Manymanuals-pt.com
Comments to this Manuals