Makita HR2450F User Manual
Browse online or download User Manual for Rotary hammers Makita HR2450F. Makita HR2450F User's Manual
- Page / 20
- Table of contents
- BOOKMARKS
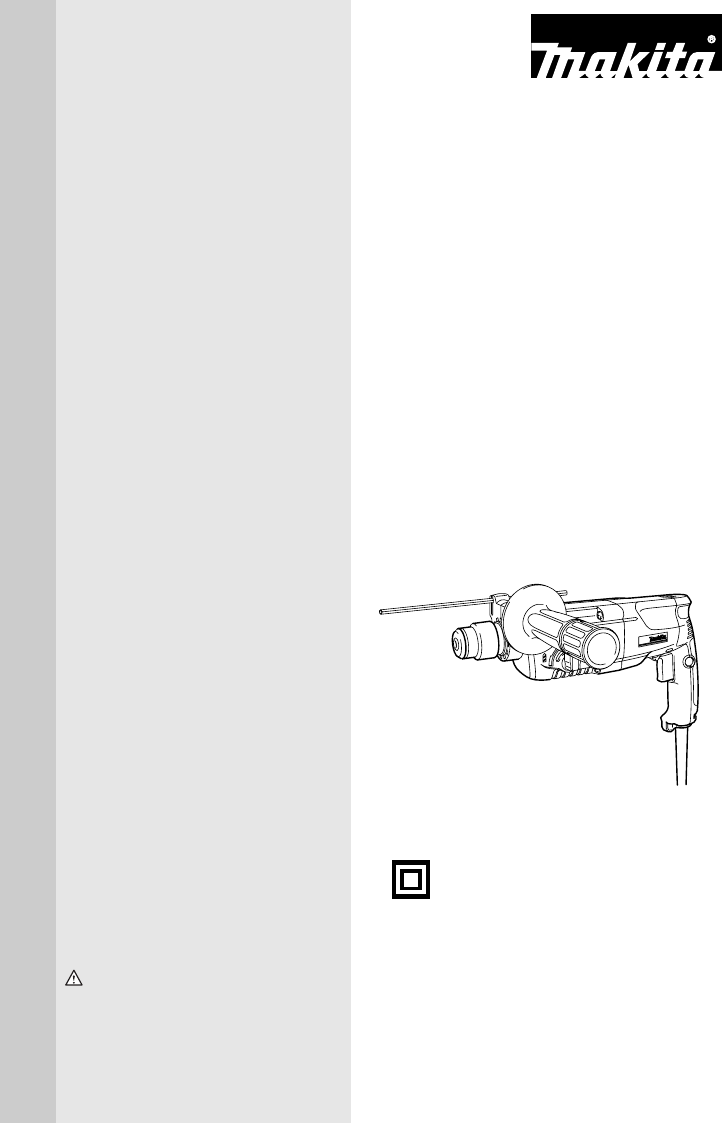
- Rotary Hammer 1
- SPECIFICATIONS 2
- GENERAL SAFETY RULES USA002-2 2
- SAVE THESE INSTRUCTIONS 2
- Personal Safety 3
- Tool Use and Care 3
- USB010-2 4
- SYMBOLS USD202-2 5
- FUNCTIONAL 6
- DESCRIPTION 6
- Selecting action mode 7
- ASSEMBLY 8
- OPERATION 10
- Chipping/Scaling/Demolition 11
- Drilling in wood or metal 11
- MAINTENANCE 12
- ACCESSORIES 13
- Makita U.S.A., Inc 17
- 14930 Northam Street 17
- La Mirada, CA 90638-5753 17
- MAIL THIS PORTION 18
- FACTORY SERVICE CENTERS 19
- Makita Corporation 20
Summary of Contents
INSTRUCTION MANUALWARNING:For your personal safety, READ and UNDERSTAND before using.SAVE THESE INSTRUCTIONS FOR FUTURE REFERENCE.www.makitatools.comR
10Depress the lock button and rotate the action mode changingknob to the symbol. Then make sure that the bit issecurely held in place by turning it
11CAUTION:• There is tremendous and sudden twisting force exertedon the tool/bit at the time of hole break-through, whenthe hole becomes clogged with
12• Pressing excessively on the tool will not speed up thedrilling. In fact, this excessive pressure will only serve todamage the tip of your bit, dec
13ACCESSORIESCAUTION:• These accessories or attachments are recommended foruse with your Makita tool specified in this manual. Theuse of any other acc
Memo14
Memo16
17First-ClassPostageRequiredPost Office willnot deliverwithout properpostage.Makita U.S.A., Inc.14930 Northam StreetLa Mirada, CA 90638-5753FoldCut
181. This product was purchased from:Home CenterHardware/Lumber StoreTool DistributorIndustrial SupplyConstruction SupplyOther ( )
19FACTORY SERVICE CENTERS1-800-4-MAKITARETAIN THIS PORTION FOR YOUR RECORDSARIZONA3707 E. Broadway Rd., Ste. 6 Phoenix, AZ 85040 (602) 437-2850CALIFOR
2SPECIFICATIONS• Manufacturer reserves the right to change specifications without notice.• Specifications may differ from country to country.GENERAL S
WARNINGSome dust created by power sanding, sawing, grinding, drilling, and otherconstruction activities contains chemicals known to the State of Calif
3still does not fit, contact a qualified elec-trician to install a polarized outlet. Do notchange the plug in any way. Double insula-tion eliminates
422. Use only accessories that are recom-mended by the manufacturer for yourmodel. Accessories that may be suitable forone tool, may become hazardous
54. Be sure the bit is secured in place beforeoperation.5. Under normal operation, the tool isdesigned to produce vibration. Thescrews can come loose
6FUNCTIONAL DESCRIPTIONCAUTION:• Always be sure that the tool is switched off andunplugged before adjusting or checking function on thetool.Switch act
7This tool has a reversing switch to change the direction ofrotation. Move the reversing switch lever to the position(A side) for clockwise rotation
8Torque limiterThe torque limiter will actuate when a certain torque level isreached. The motor will disengage from the output shaft.When this happens
9Installing or removing the bitClean the bit shank and apply bit grease before installing thebit.Insert the bit into the tool. Turn the bit and push i
Related products and manuals for Rotary hammers Makita HR2450F
 (12 pages)

 (16 pages)
(16 pages)
(16 pages)
(16 pages)
(16 pages)

 (32 pages)
(1 pages)
(1 pages)
(2 pages)
(32 pages)
(1 pages)
(1 pages)
(2 pages)
 (1 pages)
(16 pages)
(1 pages)
(1 pages)
(1 pages)
(1 pages)
(1 pages)
(1 pages)
(1 pages)
(1 pages)
(16 pages)
(1 pages)
(1 pages)
(1 pages)
(1 pages)
(1 pages)
(1 pages)
(1 pages)
© 2020, manymanuals.com. All rights reserved. | 3.287 s |
 Manymanuals.com
 Manymanuals.de
 Manymanuals.fr
 Manymanuals.it
 Manymanuals.pl
 Manymanuals.cz
 Manymanuals.es
 Manymanuals-pt.com
Comments to this Manuals