Makita 3707FC User Manual
Browse online or download User Manual for Power tools Makita 3707FC. Makita 3707FC User's Manual
- Page / 20
- Table of contents
- BOOKMARKS
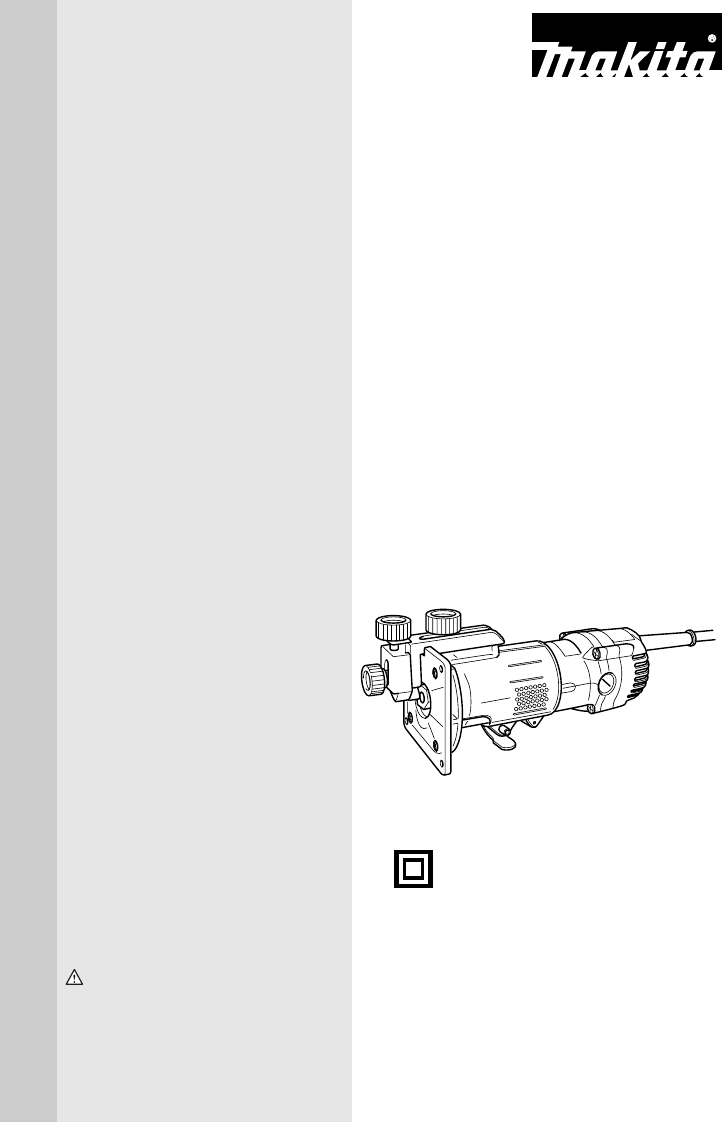
- INSTRUCTION MANUAL 1
- MODEL 3707FC 1
- SPECIFICATIONS 2
- GENERAL SAFETY RULES 2
- SAVE THESE INSTRUCTIONS 2
- Personal Safety 3
- Tool Use and Care 3
- SPECIFIC SAFETY RULES 4
- FUNCTIONAL 6
- DESCRIPTION 6
- ASSEMBLY 7
- OPERATION 7
- Templet guide 8
- Circular work 10
- MAINTENANCE 12
- ACCESSORIES 13
- Makita U.S.A., Inc 17
- 14930 Northam Street 17
- La Mirada, CA 90638-5753 17
- MAIL THIS PORTION 18
- FACTORY SERVICE CENTERS 19
- Makita Corporation 20
Summary of Contents
INSTRUCTION MANUALWARNING:For your personal safety, READ and UNDERSTAND before using.SAVE THESE INSTRUCTIONS FOR FUTURE REFERENCE.www.makitatools.comT
10Attach the guide plate to the straight guide with the bolt, thewave washer, the flat washer and the wing nut.Attach the straight guide with the clam
11For cutting circles between 70 mm (2-3/4”) and 121 mm (4-3/4”) in radius.For cutting circles between 121 mm (4-3/4”) and 221 mm (8-11/16”) in radius
12Trimmer guideTrimming, curved cuts in veneers for furniture and the likecan be done easily with the trimmer guide. The guide rollerrides the curve a
13Replacing carbon brushesRemove and check the carbon brushes regularly. Replacewhen they wear down to the limit mark. Keep the carbonbrushes clean an
Memo14
Memo15
Memo16
17First-ClassPostageRequiredPost Office willnot deliverwithout properpostage.Makita U.S.A., Inc.14930 Northam StreetLa Mirada, CA 90638-5753FoldCut
181. This product was purchased from:Home CenterHardware/Lumber StoreTool DistributorIndustrial SupplyConstruction SupplyOther ( )
19FACTORY SERVICE CENTERS1-800-4-MAKITARETAIN THIS PORTION FOR YOUR RECORDSALABAMA2365 Pelham ParkwayPelham, AL 35124 (205) 620-1791ARIZONA3707 E. Bro
2SPECIFICATIONS• Manufacturer reserves the right to change specifications without notice.• Specifications may differ from country to country.GENERAL S
WARNINGSome dust created by power sanding, sawing, grinding, drilling, and otherconstruction activities contains chemicals known to the State of Calif
35. Avoid body contact with grounded sur-faces such as pipes, radiators, ranges andrefrigerators. There is an increased risk ofelectric shock if your
4SERVICE23.Tool service must be performed only byqualified repair personnel. Service or main-tenance performed by unqualified personnelcould result in
59. Before using the tool on an actual work-piece, let it run for a while. Watch forvibration or wobbling that could indicateimproperly installed bit.
6FUNCTIONAL DESCRIPTIONCAUTION:• Always be sure that the tool is switched off andunplugged before adjusting or checking function on thetool.Adjusting
7NOTE:• Use a dry cloth to wipe the dirt off the lens of light. Becareful not to scratch the lens of light, or it may lower theillumination.ASSEMBLYCA
8NOTE:• Moving the tool forward too fast may cause a poorquality of cut, or damage to the bit or motor. Moving thetool forward too slowly may burn and
9Loosen the screws and remove the base protector. Place thetemplet guide on the base and replace the base protector.Then secure the base protector by
Related products and manuals for Power tools Makita 3707FC
 (16 pages)
(8 pages)
(16 pages)
(8 pages)

 (28 pages)
(20 pages)
(24 pages)
(23 pages)
(28 pages)
(20 pages)
(24 pages)
(23 pages)


 (48 pages)
(28 pages)
(16 pages)
(16 pages)
(6 pages)
(14 pages)
(8 pages)
(12 pages)
(8 pages)
(28 pages)
(24 pages)
(20 pages)
(20 pages)
(20 pages)
(48 pages)
(28 pages)
(16 pages)
(16 pages)
(6 pages)
(14 pages)
(8 pages)
(12 pages)
(8 pages)
(28 pages)
(24 pages)
(20 pages)
(20 pages)
(20 pages)
© 2020, manymanuals.com. All rights reserved. | 2.889 s |
 Manymanuals.com
 Manymanuals.de
 Manymanuals.fr
 Manymanuals.it
 Manymanuals.pl
 Manymanuals.cz
 Manymanuals.es
 Manymanuals-pt.com
Comments to this Manuals