Makita AF505 Instruction Manual
Browse online or download Instruction Manual for Pneumatic nailers Makita AF505. Makita AF505 pneumatic nailer User Manual
- Page / 28
- Table of contents
- BOOKMARKS
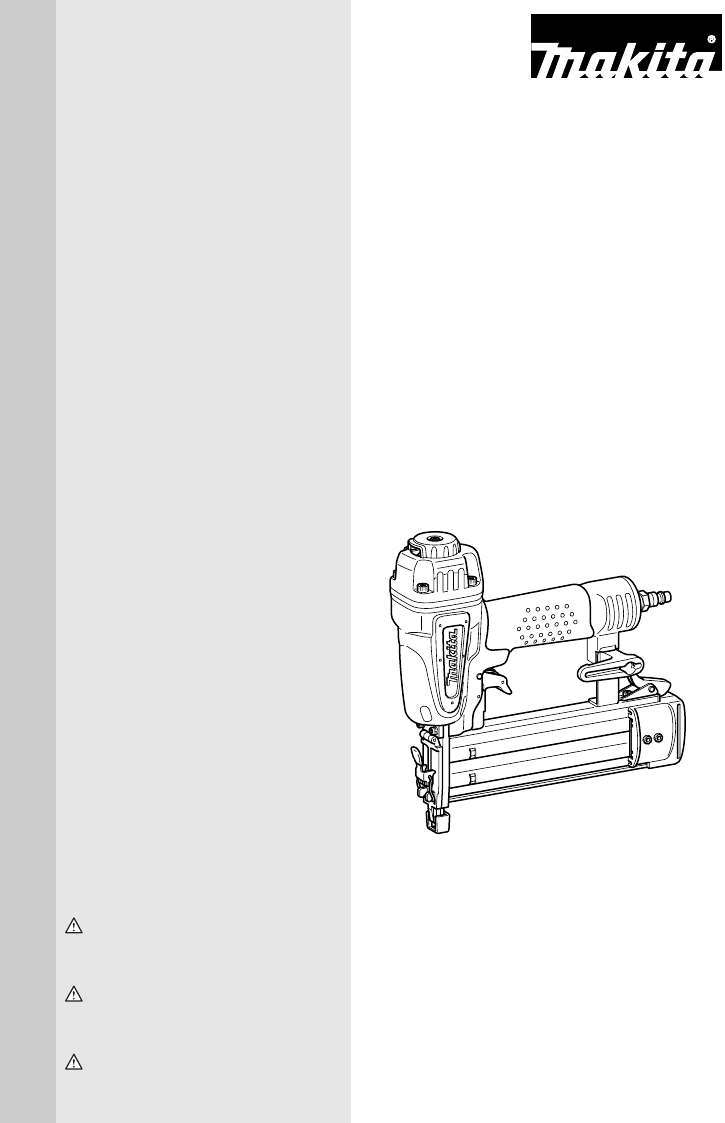
- Pneumatic Brad Nailer 1
- SPECIFICATIONS 2
- IMPORTANT SAFETY INSTRUC 2
- READ ALL INSTRUCTIONS 2
- SAVE THESE INSTRUCTIONS 3
- INSTALLATION 4
- FUNCTIONAL DESCRIPTION 5
- ASSEMBLY 5
- OPERATION 6
- MAINTENANCE 7
- ACCESSORIES 8
- SPÉCIFICATIONS 9
- CONSIGNES DE SÉCURITÉ 9
- IMPORTANTES 9
- LISEZ TOUTES LES 9
- INSTRUCTIONS 9
- CONSERVEZ CE MODE 11
- D’EMPLOI 11
- SYMBOLES 11
- DESCRIPTION DU 12
- FONCTIONNEMENT 12
- ASSEMBLAGE 13
- UTILISATION 13
- ENTRETIEN 14
- Entretien de la cloueuse 15
- ACCESSOIRES 16
- ESPECIFICACIONES 17
- INSTRUCCIONES IMPORTANTES 17
- DE SEGURIDAD 17
- LEA TODAS LAS 17
- INSTRUCCIONES 17
- GUARDE ESTAS 19
- SÍMBOLOS 19
- INSTALACIÓN 19
- DESCRIPCIÓN DEL 20
- FUNCIONAMIENTO 20
- OPERACIÓN 21
- Dirección del aire de escape 22
- Extracción de clavos 22
- MANTENIMIENTO 23
- ACCESORIOS 24
- ADVERTENCIA 28
Summary of Contents
INSTRUCTION MANUALMANUEL D'INSTRUCTIONMANUAL DE INSTRUCCIONESWARNING:For your personal safety, READ and UNDERSTAND before using.SAVE THESE INSTRU
1010. Il se peut que des réglementations localess’appliquent concernant les niveaux de bruitpermis. Veuillez les respecter. Le cas échéant,des volets
11limiter l’usure entraînée par la friction. Retireztoute poussière déposée sur les pièces.30. Ne modifiez pas l’outil sans l’autorisation deMakita.31
12kgf/cm2G (150 PSIG) ou de 1.5 fois la pression maximaleproduite par le système, la valeur la plus élevée parmi lesprécédentes s’appliquant.ATTENTION
13ASSEMBLAGEATTENTION:• Débranchez toujours le tuyau avant tout réglage del’outil.• Chargez des clous de même type, de même tailleet de même longueur
14A. N’appliquez pas une force excessive en plaçantl’élément de contact contre la pièce.B. Appuyez à fond sur la gâchette et maintenez-la tellequelle
15Entretien de la cloueuseAvant d’utiliser l’outil, assurez-vous qu’il est en bon étatet qu’aucune de ses vis n’est desserrée. Le cas échéant,serrez l
16Pour maintenir la SÉCURITÉ et la FIABILITÉ du produit,les réparations, tout autre travail d’entretien ou deréglage doivent être effectués dans un ce
17ESPAÑOLESPECIFICACIONES• Debido a un programa continuo de investigación y desarrollo, las especificaciones aquí dadas están sujetas acambios sin pre
189. Sólo aquellos involucrados en la labor deberíanestar alrededor. Los niños especialmentedeben mantenerse alejados durante todo eltiempo.10. Puede
19(4) Antes de llevar la herramienta a unalocación distinta.29. Realice operaciones de limpieza ymantenimiento justo después de haberterminado la labo
2ENGLISHSPECIFICATIONS• Due to our continuing programme of research and development, the specifications herein are subject to changewithout notice.• N
20menor de 20 m (6,6 pies) cuando el intervalo entre cadaclavado es de 0,5 segundos. Las mangueras desuministro de aire deberán tener una escala de pr
21MONTAJEPRECAUCIÓN:• Siempre desconecte la manguera antes de llevar acabo cualquier servicio de mantenimiento en laherramienta.• Recargue con clavos
22deja que vuelva a hacer contacto con la pieza detrabajo u otra superficie bajo la influencia delretroimpacto (retroceso brusco de la herramienta).Pa
23MANTENIMIENTOPRECAUCIÓN:• Desconecte siempre la manguera de aire de laherramienta antes de intentar hacer una inspeccióno mantenimiento.Mantenimient
24quedar peligrosamente atrapada durante elfuncionamiento. Las mangueras deben también dirigirselejos de bordes filosos y áreas que podrían dañarlas o
25
WARNINGSome dust created by power sanding, sawing, grinding, drilling, and otherconstruction activities contains chemicals known to the State of Calif
312. Operate the tool within the specified air pres-sure on the tool label for safety and longer toollife. Do not exceed the recommended max.operating
4SYMBOLSUSD501-1The followings show the symbols used for tool...Read and understand tool labels and manual...Opera
5FUNCTIONAL DESCRIPTIONCAUTION:• Always disconnect the hose before adjusting orchecking function on the tool.Adjusting depth of nailingTo adjust the d
6Store the nose adapter in place when not in use. Theplace for storage is on both sides of the tool and insidethe carrying case.Connecting air hoseSli
7NailsHandle nail coils and their box carefully. If the nail coilshave been handled roughly, they may be out of shape ortheir connector breaks, causin
8After operation, always drain the compressor tank andthe air filter. If moisture is allowed to enter the tool, It mayresult in poor performance and p
9FRANÇAISSPÉCIFICATIONS• Le fabricant se réserve le droit de modifier sans avertissement les spécifications.• Note: Les spécifications peuvent varier
© 2020, manymanuals.com. All rights reserved. | 3.338 s |
 Manymanuals.com
 Manymanuals.de
 Manymanuals.fr
 Manymanuals.it
 Manymanuals.pl
 Manymanuals.cz
 Manymanuals.es
 Manymanuals-pt.com
Comments to this Manuals