Makita 9005B Specifications
Browse online or download Specifications for Angle grinders Makita 9005B. Makita 9005B Specifications [en] User Manual
- Page / 16
- Table of contents
- BOOKMARKS
- Disc Grinder 1
- SPECIFICATIONS 2
- GENERAL SAFETY RULES 2
- SAVE THESE INSTRUCTIONS 2
- Personal Safety 3
- Tool Use and Care 3
- SPECIFIC SAFETY RULES 4
- FUNCTIONAL 6
- DESCRIPTION 6
- ASSEMBLY 7
- OPERATION 8
- (optional accessory) 10
- MAINTENANCE 11
- ACCESSORIES 11
- Makita Canada Inc 13
- 1950 Forbes Street 13
- Whitby, Ontario 13
- Certificate of Warranty 14
- Mail to Makita 14
- Factory Service Centres 15
Summary of Contents
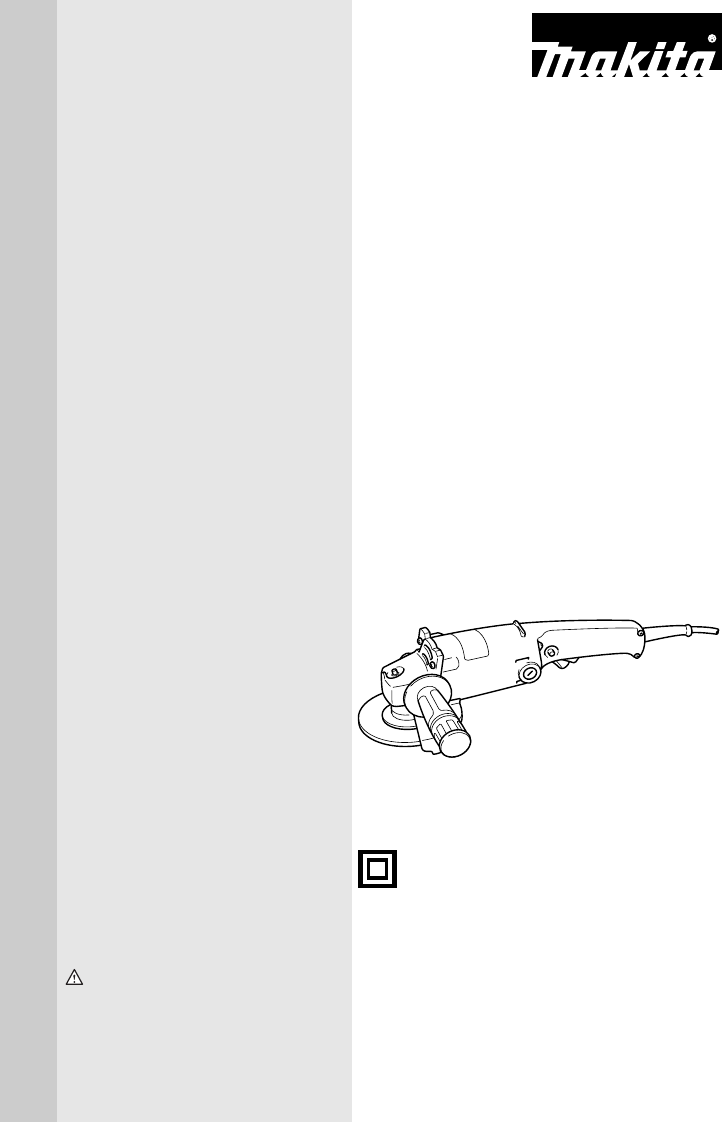
INSTRUCTION MANUALWARNING:For your personal safety, READ and UNDERSTAND before using.SAVE THESE INSTRUCTIONS FOR FUTURE REFERENCE.Disc Grinder125 mm (
10Operation with wire wheel brush (optional accessory)CAUTION:• Check operation of wire wheel brush by running tool withno load, insuring that no one
11MAINTENANCECAUTION:• Always be sure that the tool is switched off andunplugged before attempting to perform inspection ormaintenance.The tool and it
12your Makita distributor or factory service center, be sureto obtain and use all necessary fasteners and guards asrecommended in this manual. Your fa
13FoldCutStampTimbreMakita Canada Inc.1950 Forbes Street,Whitby, OntarioL1N 7B7
14Your answers to the following questions are appreciated.Date Purchased Model No.Serial No.Initial Last NameStreet AddressCity ProvinceAGE:Male Femal
15Factory Service CentresFor the authorized service centre nearest you please refer to the local yellow pages directory under “tools” or con-tact our
Warranty PolicyEvery Makita tool is thoroughly inspected and tested before leaving the factory. It is warranted to be free of defects fromworkmanship
2SPECIFICATIONS• Manufacturer reserves the right to change specifications without notice.• Specifications may differ from country to country.GENERAL S
35.Avoid body contact with grounded sur-faces such as pipes, radiators, ranges andrefrigerators. There is an increased risk ofelectric shock if your b
4SERVICE23.Tool service must be performed only byqualified repair personnel. Service or main-tenance performed by unqualified personnelcould result in
55.Always use safety glasses or goggles.Ordinary eye or sun glasses are NOTsafety glasses.6.Check the wheel carefully for cracks ordamage before opera
6FUNCTIONAL DESCRIPTIONCAUTION:• Always be sure that the tool is switched off andunplugged before adjusting or checking function on thetool.Shaft lock
7ASSEMBLYCAUTION:• Always be sure that the tool is switched off andunplugged before carrying out any work on the tool.Installing side grip (handle)CAU
8To tighten the lock nut, press the shaft lock firmly so that thespindle cannot revolve, then use the lock nut wrench andsecurely tighten clockwise.To
9CAUTION:• After operation, always switch off the tool and wait untilthe wheel has come to a complete stop before puttingthe tool down.Grinding and sa
Related products and manuals for Angle grinders Makita 9005B


 (80 pages)
 (16 pages)
(12 pages)
(12 pages)
(16 pages)
(12 pages)
(16 pages)
(16 pages)
(16 pages)
(12 pages)
(12 pages)
(16 pages)
(12 pages)
(16 pages)
(16 pages)
© 2020, manymanuals.com. All rights reserved. | 0.111 s |
 Manymanuals.com
 Manymanuals.de
 Manymanuals.fr
 Manymanuals.it
 Manymanuals.pl
 Manymanuals.cz
 Manymanuals.es
 Manymanuals-pt.com
Comments to this Manuals